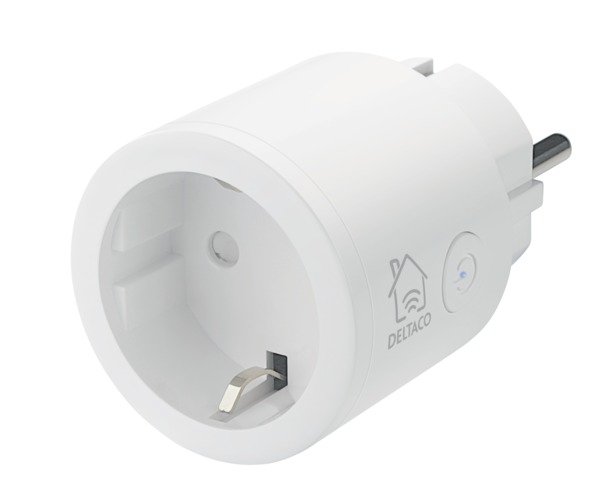
Note! This document is not valid any more. The SH-P01 devices I purchased on late 2021 were running a patched firmware. Thus, the Tuya-convert is not able to flash the SH-P01s.
This is a documentation of a ongoing work where I’m trying to get Deltaco Smartplug SH-P01 to work with Home Assistant.

Since the Home Assistant does not have a native support for the device I’m planning to:
- Create an ESPhome firmware with the configuration I found from the Home Assistant discussion board
- Flash the firmware with tuya-convert
- Finally, control the device with Home Assistant
Creating ESPhome Firmware
Since I already had Docker installed on my laptop I entered
docker pull esphome/esphome
and got the ESPhome Docker image. After this I created relay_1.yaml with following content:
esphome:
  name: relay_1
  platform: ESP8266
  board: esp01_1m

# Your WiFi SSID and passphrase is defined here
# https://esphome.io/components/wifi.html
wifi:
  ssid: "YOUR_WLAN_SSID"
  password: "YOUR_WLAN_PASSPHRASE"

# Enable fallback hotspot (captive portal)
# In case the device can't connect the host defined above
# it starts to work as an access point with these settings
# https://esphome.io/components/captive_portal.html
  ap:
    ssid: "Smartplug Deltaco 1"
    password: "RANDOM_PASSWORD_NEEDED_IN_CASE_THE_DEVICE_CANT_CONNECT_WLAN"

captive_portal:

# Enable logging
logger:

# Enable Home Assistant API
# https://esphome.io/components/api.html
api:
  password: "RANDOM_PASSWORD_FOR_HOME_ASSISTANT_TO_CONNECT"

# Enable Over The Air update component
# https://esphome.io/components/ota.html
ota:
  password: "RANDOM_PASSWORD_FOR_ESPHOME_OTA_UPDATES"

binary_sensor:
  - platform: gpio
    pin:
      number: GPIO13
      mode: INPUT_PULLUP
      inverted: True
    name: "Deltaco SH-P01 Button"
    on_press:
      - switch.toggle: deltaco_relay_1
  - platform: status
    name: "Deltaco SH-P01 Status"

output:
  - platform: esp8266_pwm
    id: deltaco_smartplug_blue_led
    pin:
      number: GPIO5
      inverted: True

switch:
  - platform: gpio
    name: "Deltaco SH-P01 Relay"
    id: deltaco_relay_1
    pin: GPIO12

light:
  - platform: monochromatic
    name: "Deltaco SH-P01 blue LED"
    output: deltaco_smartplug_blue_led
This was taken from the discussion board referred above. All I needed to do was to edit the SSIDs and passwords and compile a new firmware:
docker run --rm -v "${PWD}":/config -it esphome/esphome relay_1.yaml compile
This printed a lot of debug information and ended with following lines:
Building .pioenvs/relay_1/firmware.bin
 Retrieving maximum program size .pioenvs/relay_1/firmware.elf
 Checking size .pioenvs/relay_1/firmware.elf
 DATA:    [=====     ]  45.3% (used 37148 bytes from 81920 bytes)
 PROGRAM: [====      ]  41.5% (used 425048 bytes from 1023984 bytes)
 Creating BIN file ".pioenvs/relay_1/firmware.bin" using ".pioenvs/relay_1/firmware.elf"
 ========================= [SUCCESS] Took 29.83 seconds =========================
 INFO Successfully compiled program.
And yes, the compiled firmware was at .esphome/build/relay_1/.pioenvs/relay_1/firmware.bin! All I needed to do is to get this firmware to the device.
Flashing the Firmware with tuya-convert
The tuya-convert offers a docker image to make the flashing, but I could not make it work. Therefore I installed the script and required packages directly to my Ubuntu as instructed in the README:
git clone https://github.com/ct-Open-Source/tuya-convert
cd tuya-convert
nano -w config.txt
# Changed value WLAN to my device name, wlx7cdd901255af
# Enumerate your device names with "ifconfig"
sudo ./install_prereq.sh
At this point I disconnected by WLAN from the local access point so it was available for tuya-convert. I also copied the ESPhome firmware.bin to tuya-convert/files/relay_1.bin. Then it was time to start the flashing script:
sudo ./start_flash.txt
When instructed I joined my phone to new WLAN access point “vtrust-flash” and after this was done I reset my SH-P01. It took me a while to understand why it did not respond when I pressed the button for the magic 6 seconds. Finally it turned out that the device already had connected to the AP.
The script did the trick. First it downloaded the firmware backup and after that it asked which binary file I wanted to install. After a while the relay_1.bin was uploaded.
Installing Home Assistant
Since I have a Xen server I installed the Home Assistant to a fresh VM running Debian Stretch. The Home Assistant configuration was quite uneventful as everything went as planned.
Since the server and the SH-P01 were on the same network segment (same LAN) the switch was discovered right away. All I needed to do was to give the API password I defined in relay_1.yaml and wrote to the ESPhome firmware.
Everything worked: the relay, the light and the button.
Flashing More Devices
To add more devices just make a copy of the ESPhome configuration (relay_1.yaml) and edit the esphome:name -setting:
esphome:
  name: relay_2
  platform: ESP8266
  board: esp01_1m
The device names must be unique and they’re used for example as a hostname of the device. Home Assistant creates its ID:s from device names (e.g. “Deltaco SH-P01 Relay” becomes “switch.deltaco_sh_p01_relay”). In case you’re worried about these entity ID:s you might want to give distinctive names to avoid overloading (“switch.deltaco_sh_p01_relay_2”, “switch.deltaco_sh_p01_relay_3” etc.). You might also want to change some of the passwords. After this just repeat the steps with the new firmware.
The sample configuration toggles the relay when the button is pressed. If you don’t want this behaviour but want to control the relays by the Home Assistant automations just remove this codeblock:
on_press:
  - switch.toggle: deltaco_relay_1